Creamy Roasted Red Pepper and Garlic Dip – Better Than Takeout
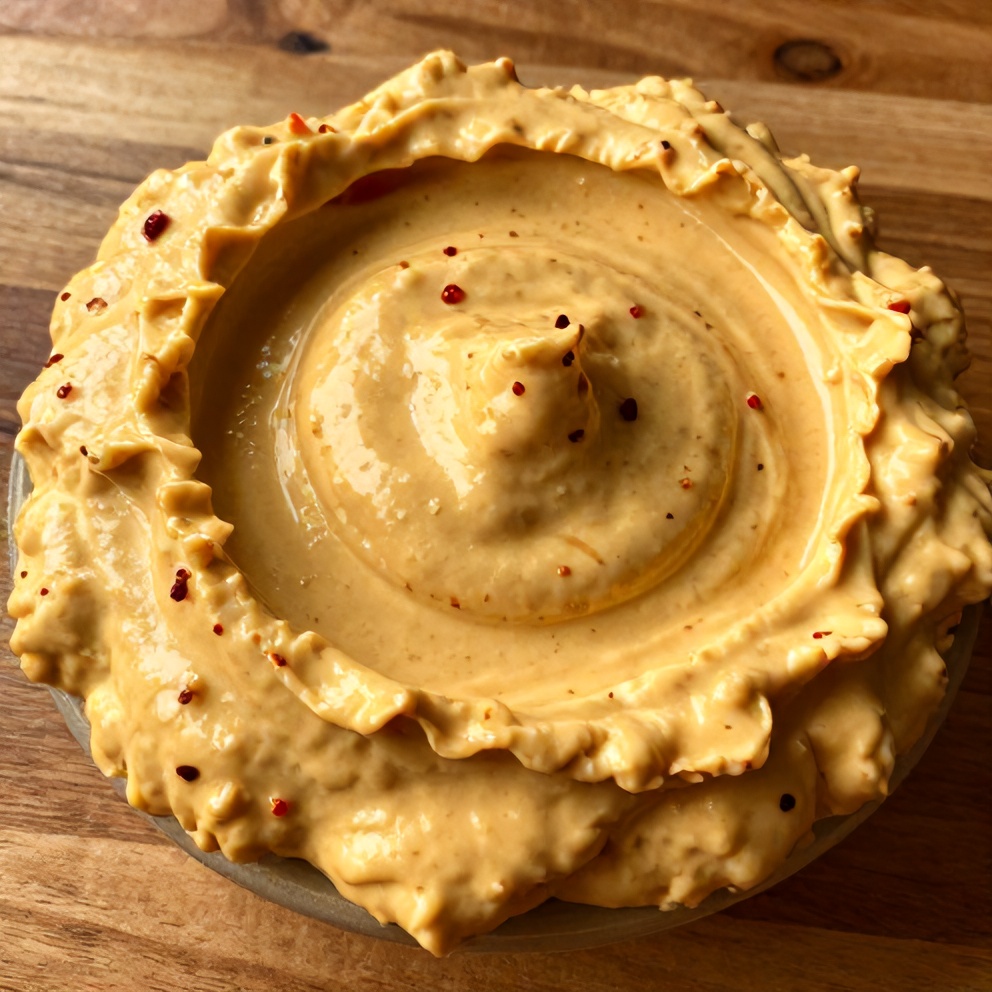
Creamy Roasted Red Pepper and Garlic Dip – Once you try this, you’ll never buy store-bought again. After making this many times, I discovered the trick to the creamiest texture is roasting the peppers until they’re almost burnt. This dip is perfect for game nights or as a quick snack. It’s better than takeout and my family begs for it. If you love recipes like this, you’ll also enjoy Easy One-Pan Lemon Chicken and Rice Dinner Recipe and Easy Slow Cooker Buffalo Chicken Dip Recipe.
Why This Creamy Roasted Red Pepper and Garlic Dip – Better Than Takeout Is Pure Comfort
- The perfect blend of creamy and tangy
- Easy to make and always a crowd-pleaser
- Better than takeout and freezes well
What You'll Need for Creamy Roasted Red Pepper and Garlic Dip – Better Than Takeout
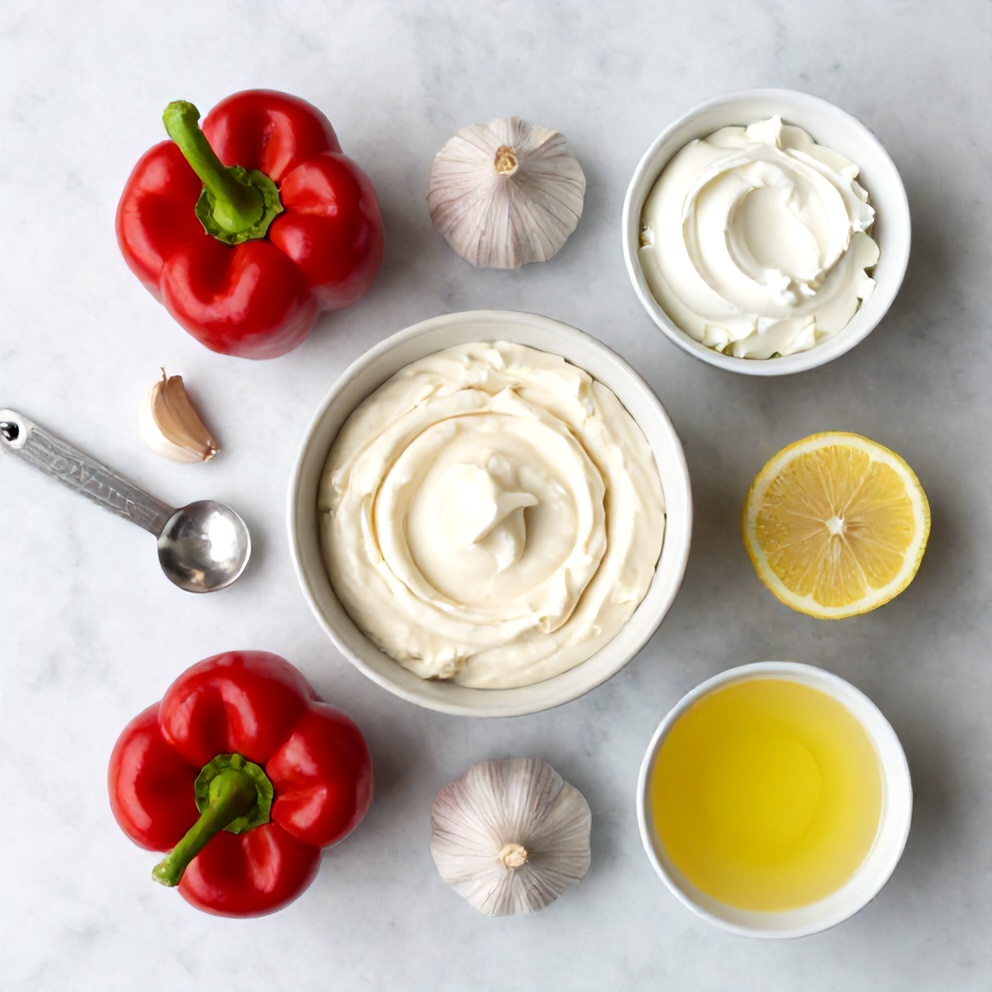
Choosing the right ingredients makes a big difference, but this recipe is forgiving enough to work with what you have.
- Red bell peppers
- Garlic cloves
- Cream cheese
- Sour cream
- Lemon juice
- Salt
- Black pepper
- Paprika
- Cayenne pepper (optional)
- Optional: Chopped fresh parsley
- Optional: Crushed red pepper flakes
📝 Ingredient Notes
- Red bell peppers: You can use jarred roasted red peppers to save time.
🛒 Tools & Equipment I Recommend
- Food processor — Ensures smooth, creamy dip every time → See on Amazon
- Pita chips — Perfect dippers for this creamy dip → See on Amazon
How to Make Creamy Roasted Red Pepper and Garlic Dip – Better Than Takeout
- Roast the peppers: Place bell peppers on a baking sheet and broil until charred, about 5-7 minutes per side.
- Peel and chop: Peel the charred skin off the peppers and remove the seeds. Chop the peppers and garlic.
- Blend: In a food processor, combine peppers, garlic, cream cheese, sour cream, lemon juice, salt, and black pepper. Blend until smooth.
- Adjust seasoning: Taste and adjust seasoning with paprika and cayenne pepper (if using).
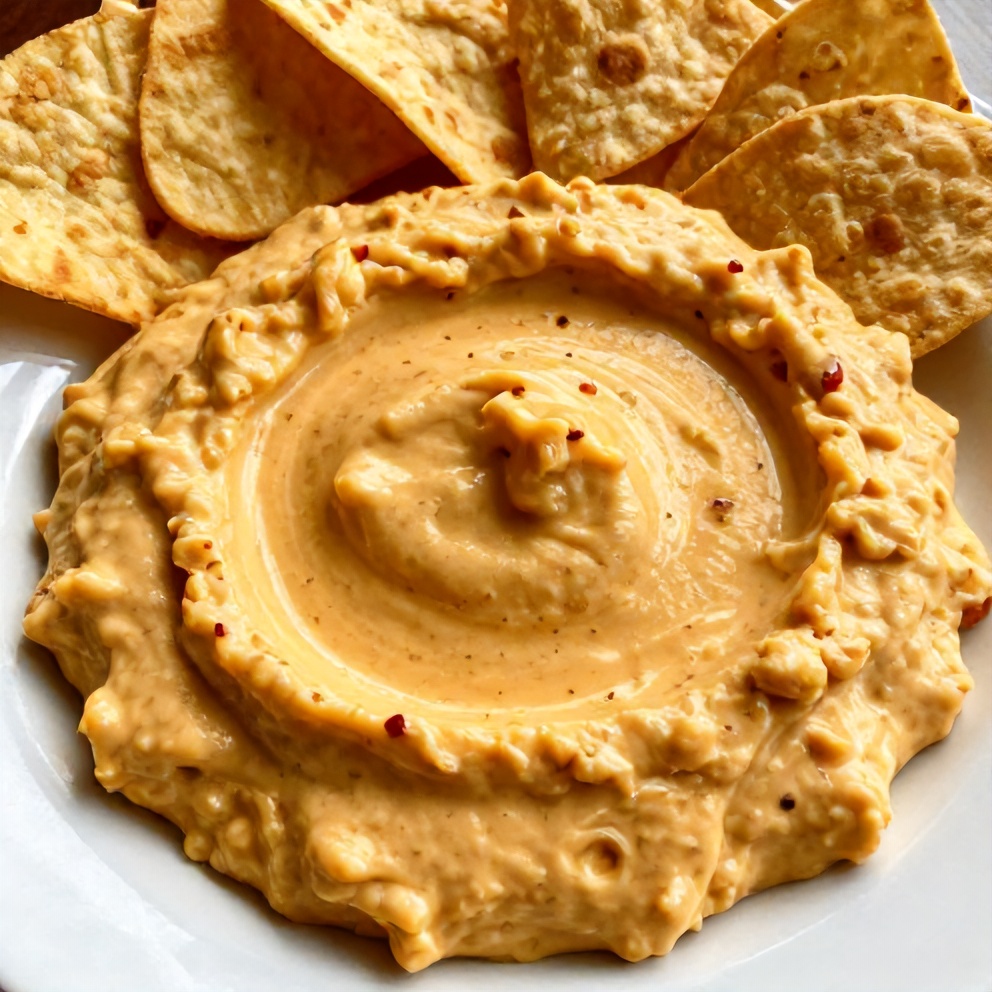
- Chill and serve: Chill in the fridge for at least 30 minutes. Serve with pita chips or vegetables.
Cook's Tips for Perfect Creamy Roasted Red Pepper and Garlic Dip – Better Than Takeout
- : For a smokier flavor, grill the peppers instead of broiling.
- Common mistake and fix: If your dip is too watery, add more cream cheese or sour cream and blend again.
- : Make this dip ahead of time and store in the fridge for up to 5 days.
- : For a spicier dip, add more cayenne pepper or serve with hot sauce on the side.
Storing & Reheating Creamy Roasted Red Pepper and Garlic Dip – Better Than Takeout
Short-Term Storage
Store in an airtight container in the fridge. Store in an airtight container for up to 5 days Make-ahead tip: Make ahead and store in the fridge for up to 5 days
Freezing Creamy Roasted Red Pepper and Garlic Dip – Better Than Takeout
Freeze for up to 3 months, thaw overnight in the fridge
How to Reheat Without Drying It Out
Oven: Reheat in the oven at 350°F (180°C) for 10-15 minutes Microwave: Reheat in the microwave for 1-2 minutes
Recipe Notes
- Chef tip: For a smoother dip, use an immersion blender instead of a food processor.
- Best substitution: Substitute the cream cheese with Greek yogurt for a lighter version.
- Make-ahead: Make this dip ahead of time and store in the fridge for up to 5 days.
- Scaling: This recipe can be easily doubled or tripled for larger crowds.
- Troubleshooting: If your dip is too thick, add a tablespoon of milk and blend again.
Want to level up this recipe?
Baking sheet — Heavy-duty for even heat distribution and easy cleanup → Check price on Amazon
Creamy Roasted Red Pepper and Garlic Dip – Better Than Takeout
Ingredients
Main Ingredients
- Red bell peppers
- Garlic cloves
- Cream cheese
- Sour cream
- Lemon juice
Seasonings
- Salt
- Black pepper
- Paprika
- Cayenne pepper (optional)
Optional Toppings
- Chopped fresh parsley
- Crushed red pepper flakes
Instructions
- Roast the peppers: Place bell peppers on a baking sheet and broil until charred, about 5-7 minutes per side.
- Peel and chop: Peel the charred skin off the peppers and remove the seeds. Chop the peppers and garlic.
- Blend: In a food processor, combine peppers, garlic, cream cheese, sour cream, lemon juice, salt, and black pepper. Blend until smooth.
- Adjust seasoning: Taste and adjust seasoning with paprika and cayenne pepper (if using).
- Chill and serve: Chill in the fridge for at least 30 minutes. Serve with pita chips or vegetables.
Notes
- Chef tip: For a smoother dip, use an immersion blender instead of a food processor.
- Best substitution: Substitute the cream cheese with Greek yogurt for a lighter version.
- Make-ahead: Make this dip ahead of time and store in the fridge for up to 5 days.
- Scaling: This recipe can be easily doubled or tripled for larger crowds.
- Troubleshooting: If your dip is too thick, add a tablespoon of milk and blend again.
Storage
- Fridge: Store in an airtight container for up to 5 days
- Freezer: Freeze for up to 3 months, thaw overnight in the fridge
- Oven reheat: Reheat in the oven at 350°F (180°C) for 10-15 minutes
- Microwave reheat: Reheat in the microwave for 1-2 minutes
- Make ahead: Make ahead and store in the fridge for up to 5 days
Nutrition Per Serving
- Calories: 70
- Protein: 1g
- Fat: 6g
- Carbs: 3g
- Fiber: 0g
- Sugar: 1g
- Sodium: 150mg
- Cholesterol: 20mg
- Sat. Fat: 3g
Nutritional values are estimates only. Actual values may vary by brand and portion size.
Creamy Roasted Red Pepper and Garlic Dip – Better Than Takeout FAQs
Yes, this dip can be made up to 5 days ahead of time. Store in an airtight container in the fridge.
If your dip is too watery, add more cream cheese or sour cream and blend again. You can also strain the peppers before blending to remove excess liquid.
Yes, you can freeze this dip for up to 3 months. Thaw overnight in the fridge before serving.
Yes, you can roast the peppers in the air fryer at 400°F (200°C) for 10-15 minutes, shaking the basket halfway through.
Serve this dip with pita chips, tortilla chips, vegetables, or crackers.
A Warm Final Note
I can’t wait for you to try Creamy Roasted Red Pepper and Garlic Dip – Better Than Takeout and see how effortlessly it comes together. When you make it, pop back here and leave a rating or share how it turned out — I love hearing from you!